|
Inno Setup은 윈도우 설치 프로그램 제작 소프트웨어입니다.
|
공식 다운로드 주소: http://www.jrsoftware.org/isdl.php#stable
다운로드 후 바로 설치하세요.
프로젝트 개발이 완료된 후에는 배포를 위해 프로그램을 패키징해야 합니다.
Inno Setup 소프트웨어를 사용하여 설치 exe를 만들 수 있습니다.
|
1. Inno Setup 설치 프로그램 설치
|
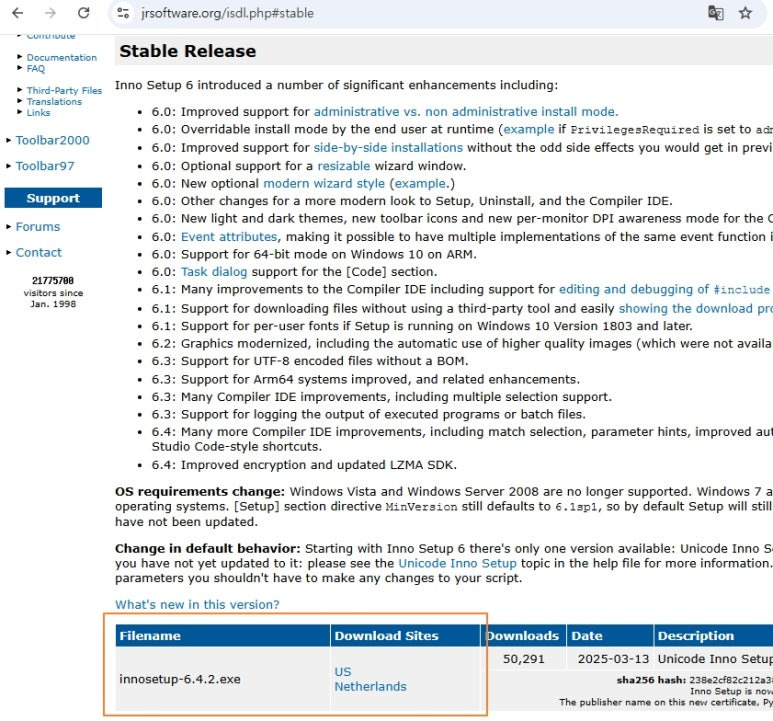
위의 경로에서 다운받아 설치를 시작합니다.
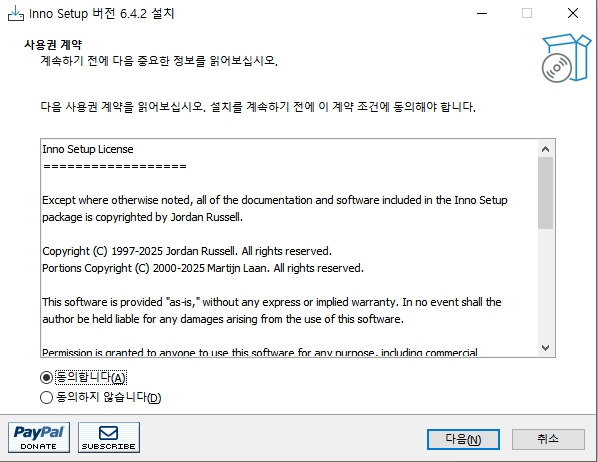
동의 체크후 다음을 클릭하세요.
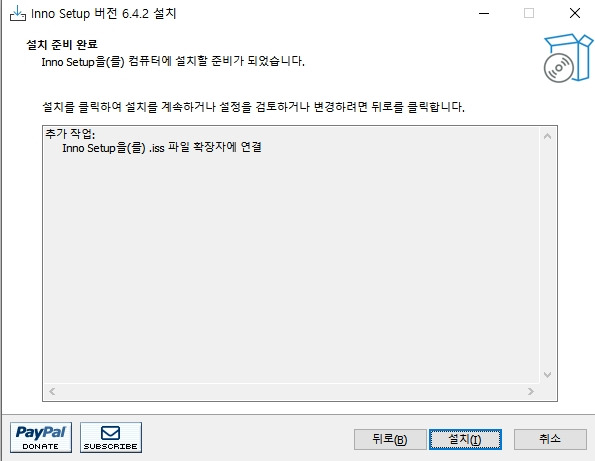
다음을 클릭하세요.
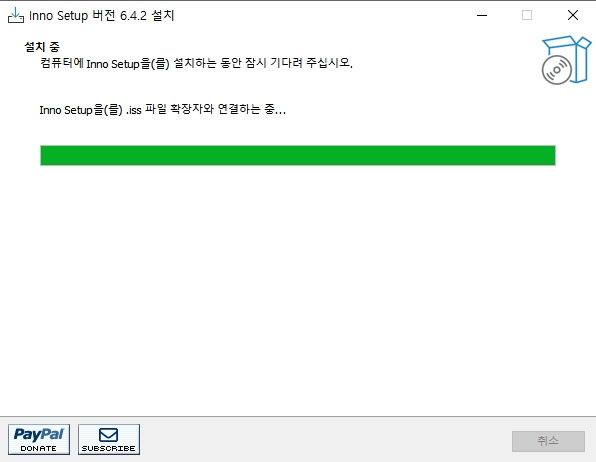
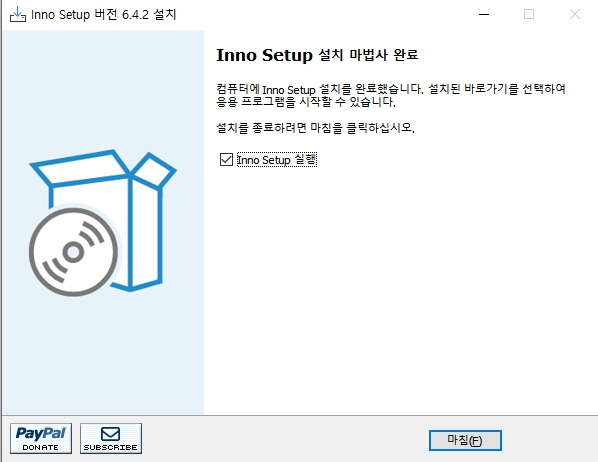
완료 되었씁니다. 이제 패키징 준비 완료!

|
2. 패키징 프로그램
|
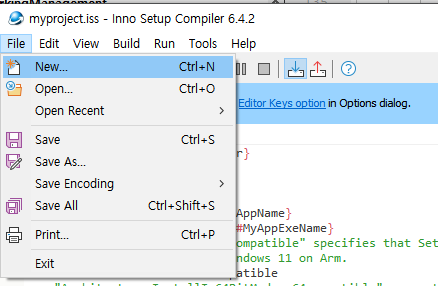
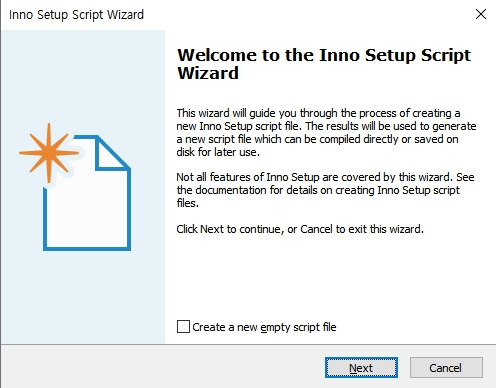
(1) Inno Setup Compiler를 열고 [파일] → [새로 만들기]를 클릭하여 새 스크립트 마법사 프로그램을 만든 후 [다음]을 클릭합니다.
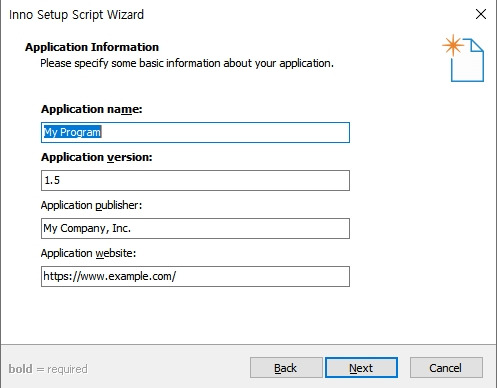
(2) 프로그램 정보에 "프로그램 이름", "프로그램 버전", "프로그램 게시자" 및 "프로그램 웹사이트"를 입력합니다.
이 정보는 스크립트에서 자동으로 생성되며, 다음을 클릭합니다.
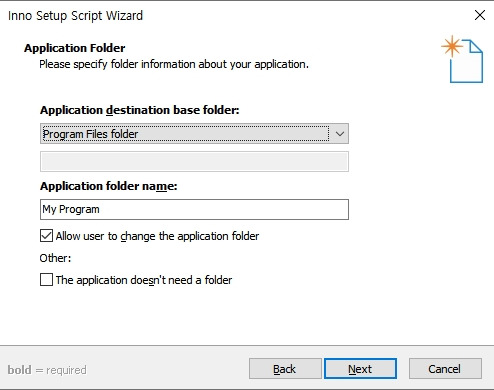
(3) 패키지 파일의 생성 위치와 폴더 이름을 사용자 지정하고 다음을 클릭합니다.
(4) 애플리케이션의 주요 실행 파일, 즉 컴파일한 exe 파일을 선택합니다.
다음으로, 프로그램을 실행하는 데 필요한 모든 dll, 리소스 및 구성 파일을 폴더에 넣으려면 "폴더 추가"를 클릭하고, 이 폴더를 선택한 후 다음을 클릭합니다.
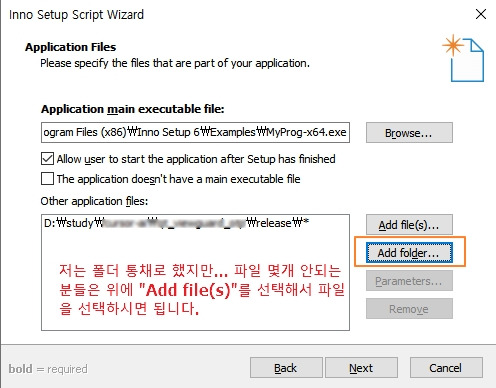
참고: 폴더 추가는 모든 종속 dll 및 기타 파일을 포함하여 .exe의 상위 폴더를 추가합니다.
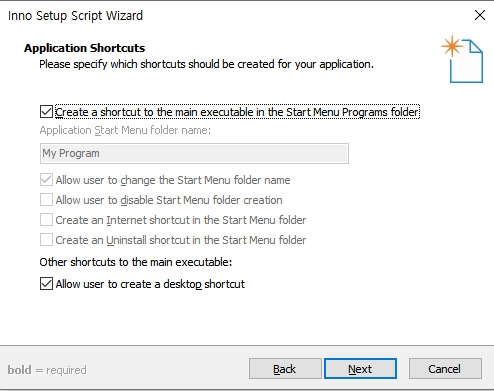
(5) 시작 메뉴에 표시할 애플리케이션 이름을 입력하고 필요한 기능의 확인란을 체크하고 일반적으로 기본값으로 둡니다. 다음을 클릭합니다.
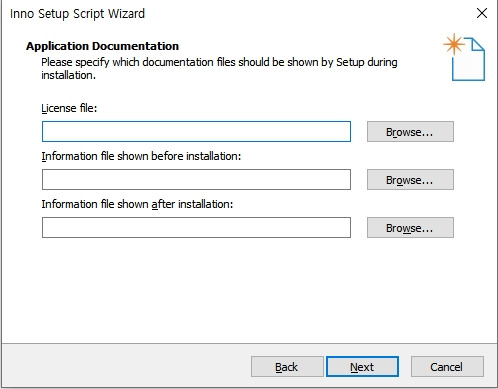
(6) 여기서 "라이센스 파일", "설치전 추가 설치 파일"(예: Readme 파일 등), "설치 후 정보 표시" 등을 선택한 후 다음을 클릭합니다.
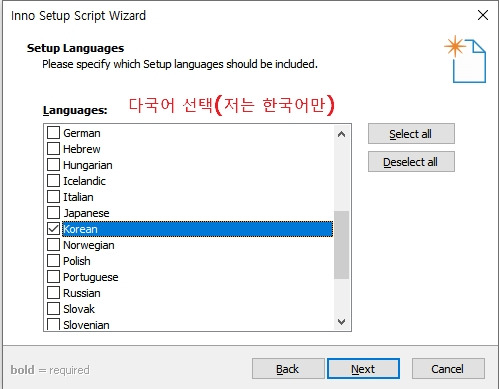
(7) “설치 언어”를 선택하고 다음을 클릭합니다.
(8) “패키징 파일 생성 폴더”, “패키징 파일 이름”, “사용자 정의 설치 프로그램 아이콘 파일” 및 “설치 암호”를 선택한 후 “다음”을 클릭합니다.
* 암호 추가는 선택사항입니다.
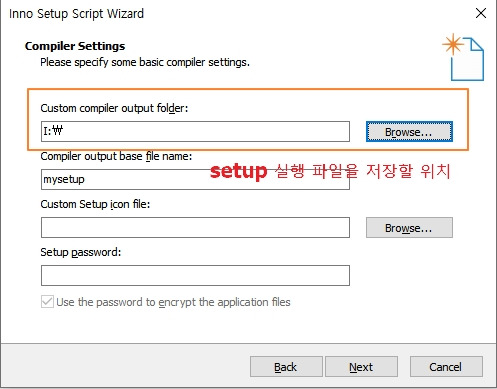
참고: 첫 번째 옵션은 생성된 설치 패키지 *.exe의 출력 디렉토리를 나타냅니다. 아이콘 파일은 설치 패키지 *.exe의 아이콘 파일입니다.
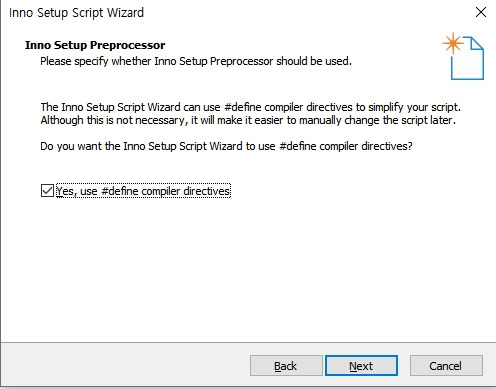
(9) 여기서 #define 컴파일 명령을 사용할지 여부를 선택합니다.
스크립트 작성을 용이하게 하기 위해 생성된 스크립트에 일부 상수를 정의하는 #define 매크로를 사용하려면 '예'를 선택하세요. 체크할지 말지 선택한 후 다음을 클릭합니다.
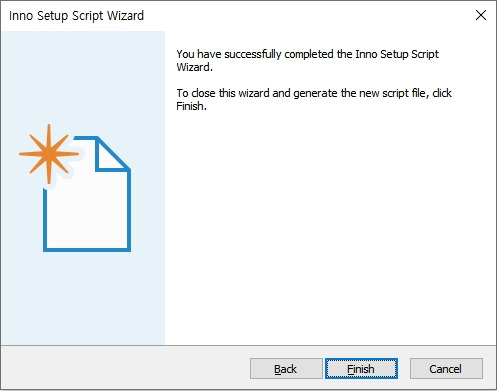
이 스크립트는 우리가 이전에 입력한 내용을 기반으로 자동 생성됩니다.
컴파일러를 직접 사용할 수도 있고, 직접 다시 작성할 수도 있습니다.
; Script generated by the Inno Setup Script Wizard.
; SEE THE DOCUMENTATION FOR DETAILS ON CREATING INNO SETUP SCRIPT FILES!

#define MyAppName "My Program"
#define MyAppVersion "1.5"
#define MyAppPublisher "My Company, Inc."
#define MyAppURL "https://www.example.com/"
#define MyAppExeName "MyProg-x64.exe"
#define MyAppAssocName MyAppName + " File"
#define MyAppAssocExt ".myp"
#define MyAppAssocKey StringChange(MyAppAssocName, " ", "") + MyAppAssocExt

[Setup]
; NOTE: The value of AppId uniquely identifies this application. Do not use the same AppId value in installers for other applications.
; (To generate a new GUID, click Tools | Generate GUID inside the IDE.)
AppId={{B5278F1B-C90A-468B-91FB-2F19B999EE91}
AppName={#MyAppName}
AppVersion={#MyAppVersion}
;AppVerName={#MyAppName} {#MyAppVersion}
AppPublisher={#MyAppPublisher}
AppPublisherURL={#MyAppURL}
AppSupportURL={#MyAppURL}
AppUpdatesURL={#MyAppURL}
DefaultDirName={autopf}\{#MyAppName}
UninstallDisplayIcon={app}\{#MyAppExeName}
; "ArchitecturesAllowed=x64compatible" specifies that Setup cannot run
; on anything but x64 and Windows 11 on Arm.
ArchitecturesAllowed=x64compatible
; "ArchitecturesInstallIn64BitMode=x64compatible" requests that the
; install be done in "64-bit mode" on x64 or Windows 11 on Arm,
; meaning it should use the native 64-bit Program Files directory and
; the 64-bit view of the registry.
ArchitecturesInstallIn64BitMode=x64compatible
ChangesAssociations=yes
DisableProgramGroupPage=yes
; Uncomment the following line to run in non administrative install mode (install for current user only).
;PrivilegesRequired=lowest
OutputDir=I:\
OutputBaseFilename=mysetup
SolidCompression=yes
WizardStyle=modern

[Languages]
Name: "english"; MessagesFile: "compiler:Default.isl"
Name: "korean"; MessagesFile: "compiler:Languages\Korean.isl"

[Tasks]
Name: "desktopicon"; Description: "{cm:CreateDesktopIcon}"; GroupDescription: "{cm:AdditionalIcons}"; Flags: unchecked

[Files]
Source: "C:\Program Files (x86)\Inno Setup 6\Examples\{#MyAppExeName}"; DestDir: "{app}"; Flags: ignoreversion
Source: "D:\study\cursor-ai\qt_viewguard_otp\release\*"; DestDir: "{app}"; Flags: ignoreversion recursesubdirs createallsubdirs
; NOTE: Don't use "Flags: ignoreversion" on any shared system files

[Registry]
Root: HKA; Subkey: "Software\Classes\{#MyAppAssocExt}\OpenWithProgids"; ValueType: string; ValueName: "{#MyAppAssocKey}"; ValueData: ""; Flags: uninsdeletevalue
Root: HKA; Subkey: "Software\Classes\{#MyAppAssocKey}"; ValueType: string; ValueName: ""; ValueData: "{#MyAppAssocName}"; Flags: uninsdeletekey
Root: HKA; Subkey: "Software\Classes\{#MyAppAssocKey}\DefaultIcon"; ValueType: string; ValueName: ""; ValueData: "{app}\{#MyAppExeName},0"
Root: HKA; Subkey: "Software\Classes\{#MyAppAssocKey}\shell\open\command"; ValueType: string; ValueName: ""; ValueData: """{app}\{#MyAppExeName}"" ""%1"""

[Icons]
Name: "{autoprograms}\{#MyAppName}"; Filename: "{app}\{#MyAppExeName}"
Name: "{autodesktop}\{#MyAppName}"; Filename: "{app}\{#MyAppExeName}"; Tasks: desktopicon

[Run]
Filename: "{app}\{#MyAppExeName}"; Description: "{cm:LaunchProgram,{#StringChange(MyAppName, '&', '&&')}}"; Flags: nowait postinstall skipifsilent
마지막 단계에서는 새 스크립트를 즉시 컴파일할지 묻습니다.
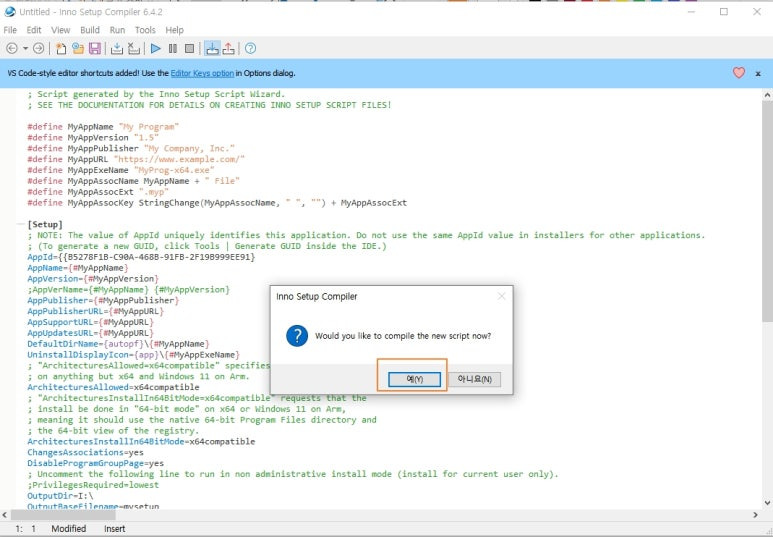
- 작업 중 오류가 발생하면 스크립트에서 직접 수정할 수 있습니다.
- exe 설치 패키지 파일의 새로운 버전을 패키징하려는 경우 위의 과정을 다시 거칠 필요가 없습니다. 원래 exe 실행 파일만 바꾸고, 원래 생성된 스크립트 파일을 열어 실행하면 새로운 버전의 exe 설치 패키지 파일이 생성됩니다.
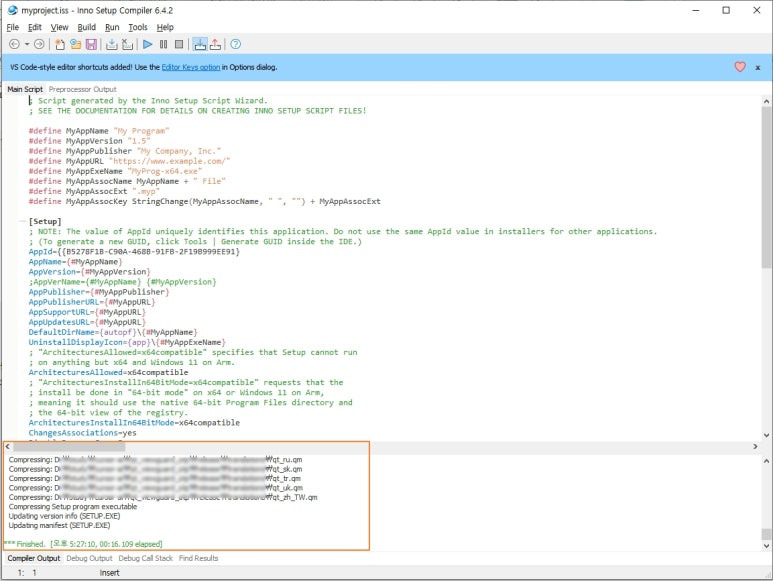
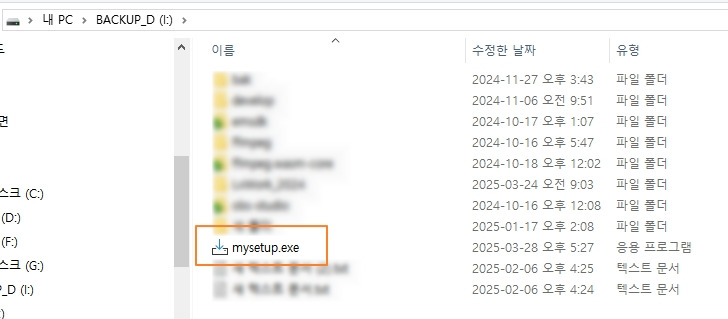
마지막으로 exe 설치 패키지 파일이 생성됩니다.
아래 그림과 같이 , exe 파일을 클릭해서 설치 또는 배포 하시면 됩니다..
'개발 언어 > Etc.' 카테고리의 다른 글
| Apache Flink FLIP-7: 웹 UI에서 모니터링 메트릭 시각화 (2) | 2025.05.05 |
|---|---|
| Synology: 와일드카드 인증서 추가 방법 (1) | 2025.04.29 |
| 무료 SSL 인증서 발급 및 서버 적용 상세 가이드 (0) | 2025.04.28 |
| Application Memory Dump 분석하기 (part 2) (0) | 2016.01.19 |
| Application Memory Dump 분석하기 (part 1) (0) | 2016.01.19 |

